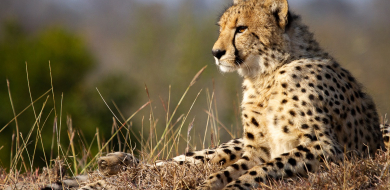
High Key Photography Tip
on Oct 11, 2016In this Photography Tip, I will go through the creation process of a High-Key Image in Lightroom with a step by step guide.
Step 1
Open your image in Lightroom, here I am using Lightroom CC. The image I am using is one that is perfect for High-Key as it is detailed with quite a bit of contrast and a perfectly clean background. Ideally, if you know you are going to be making a High-Key picture, you should set the image at 2 stops higher exposure than normal.
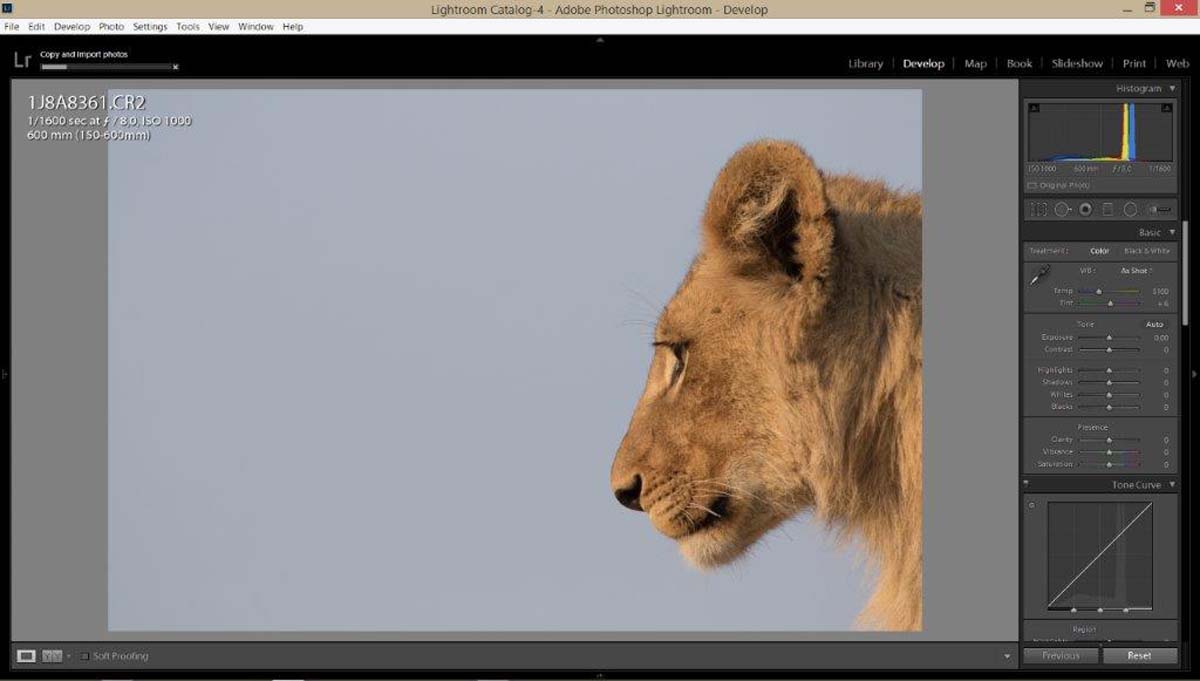
Step 2
Convert your image into black and white.
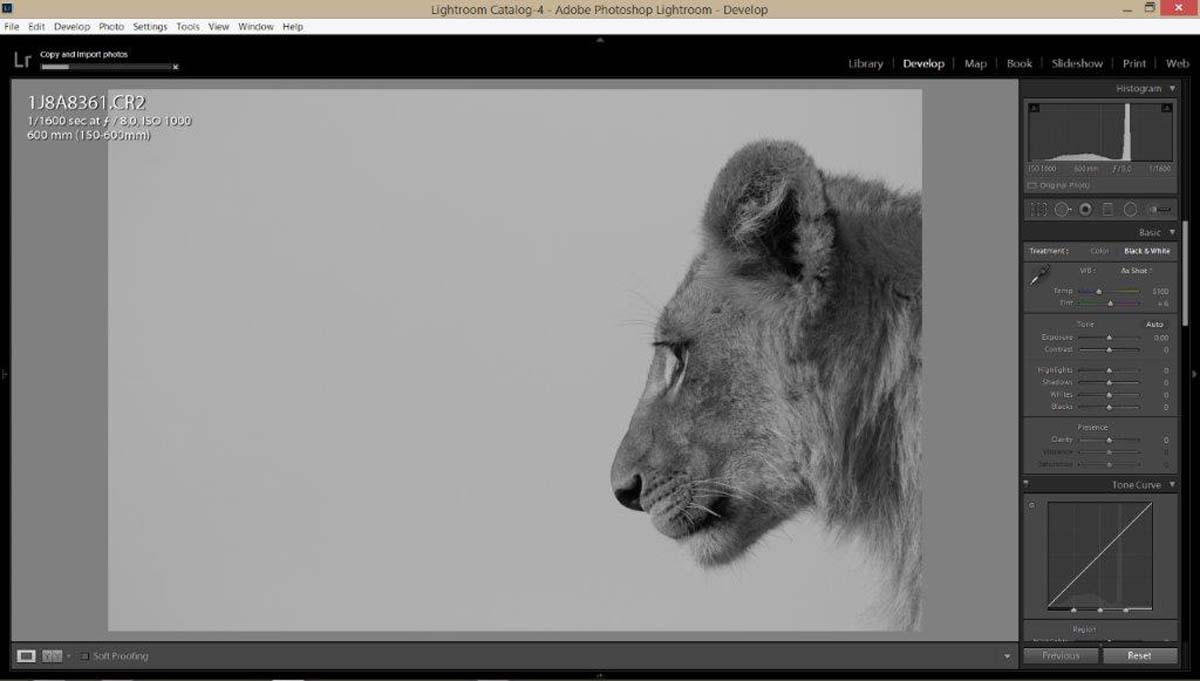
Step 3
Turn on the highlight clipping toggle in the top right corner of the histogram. This will help you later on.
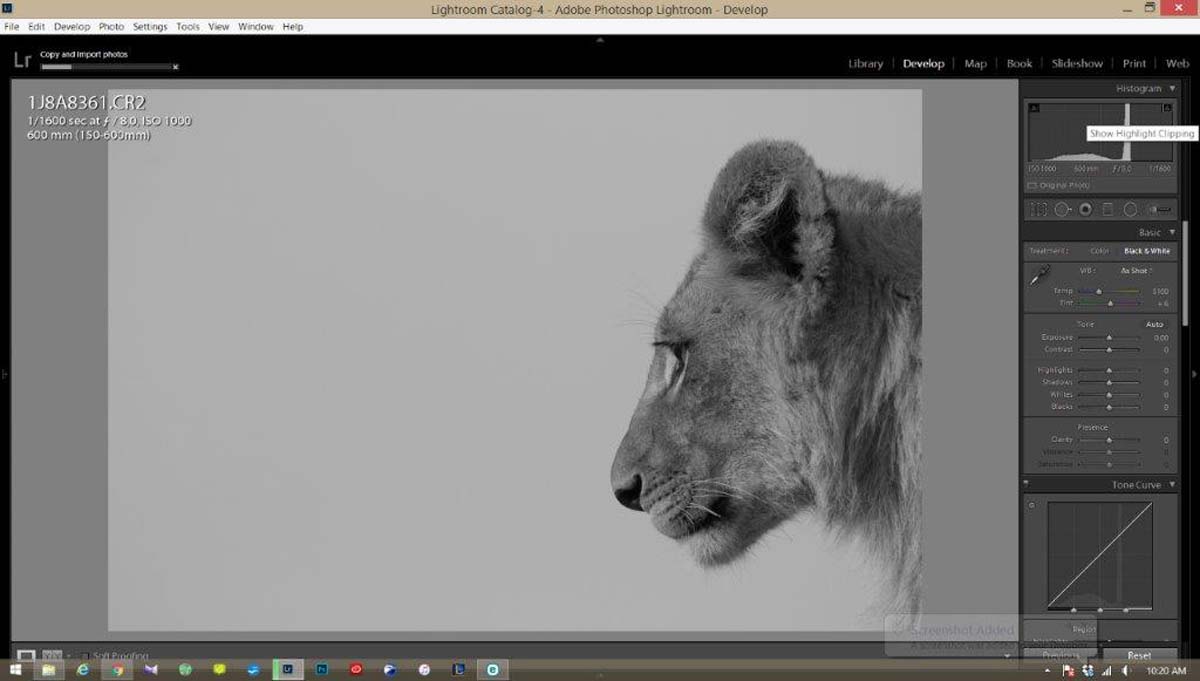
Step 4
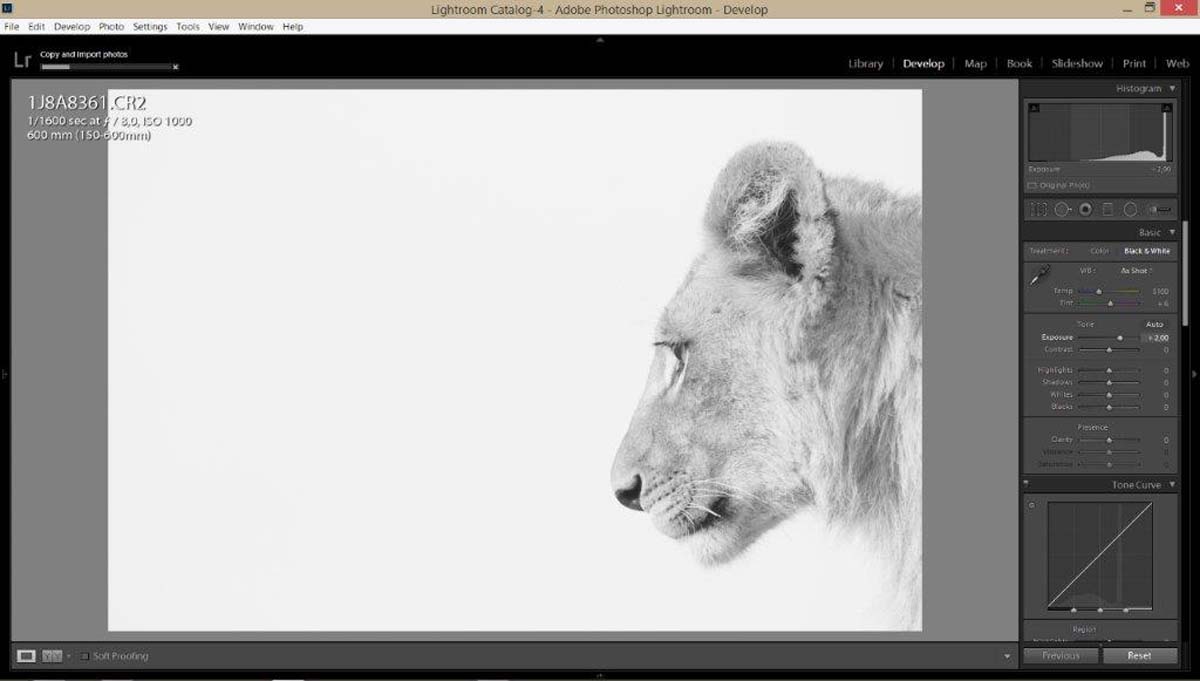
Bump up your exposure to a level that washes out the detail in the picture a little.
Step 5
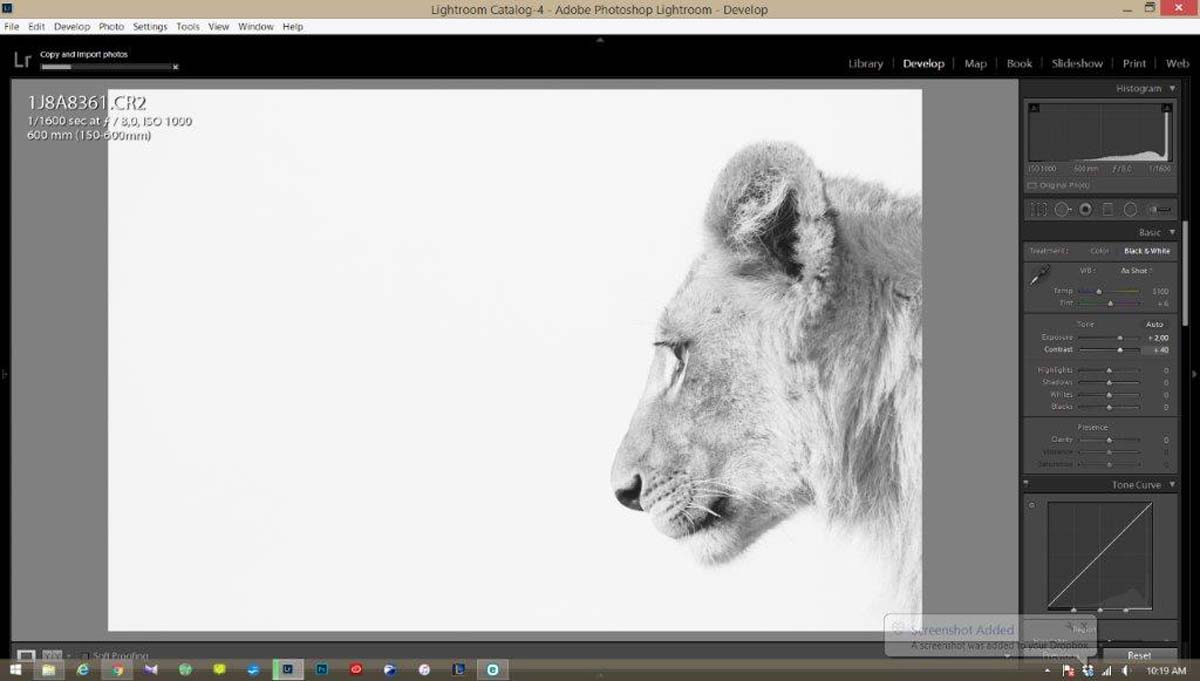
Bring back some detail by raising your contrast.
Step 6
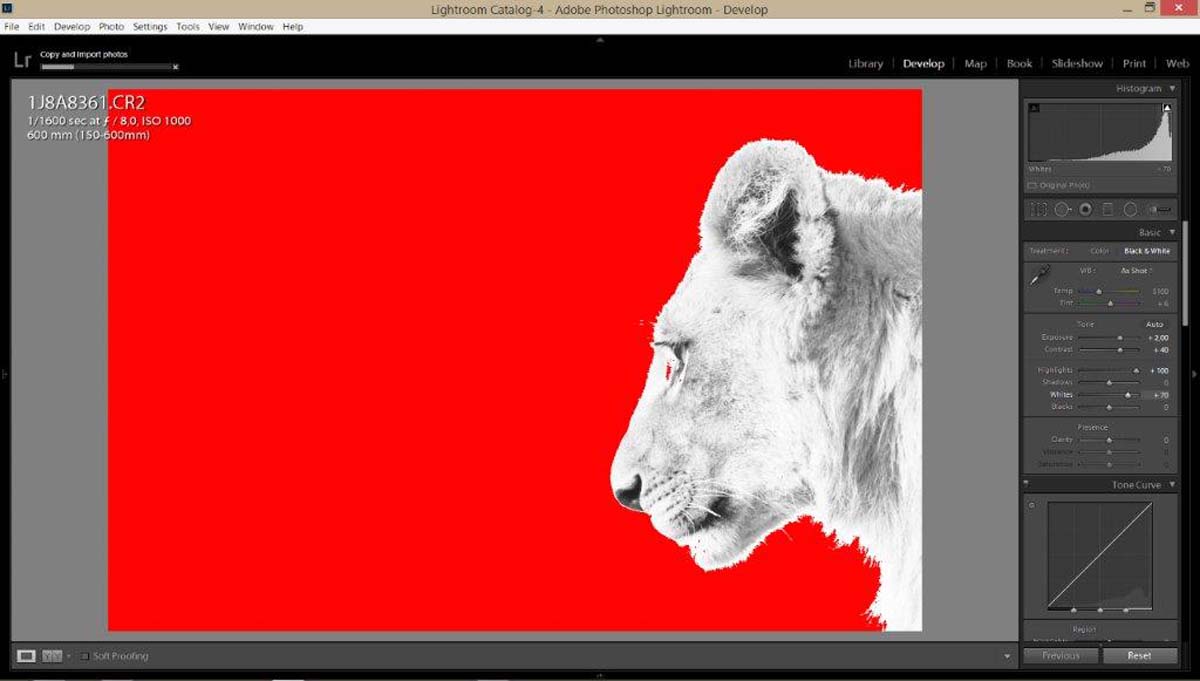
Increase the highlights slider to max and then increase the white slider until the entire background is completely red. This means that your background is now entirely clean white and will show up like this and not a pale grey. If there are spots in the red use the adjustment brush to colour them in and increase the exposure of the spots - this will make them disappear.
Step 7
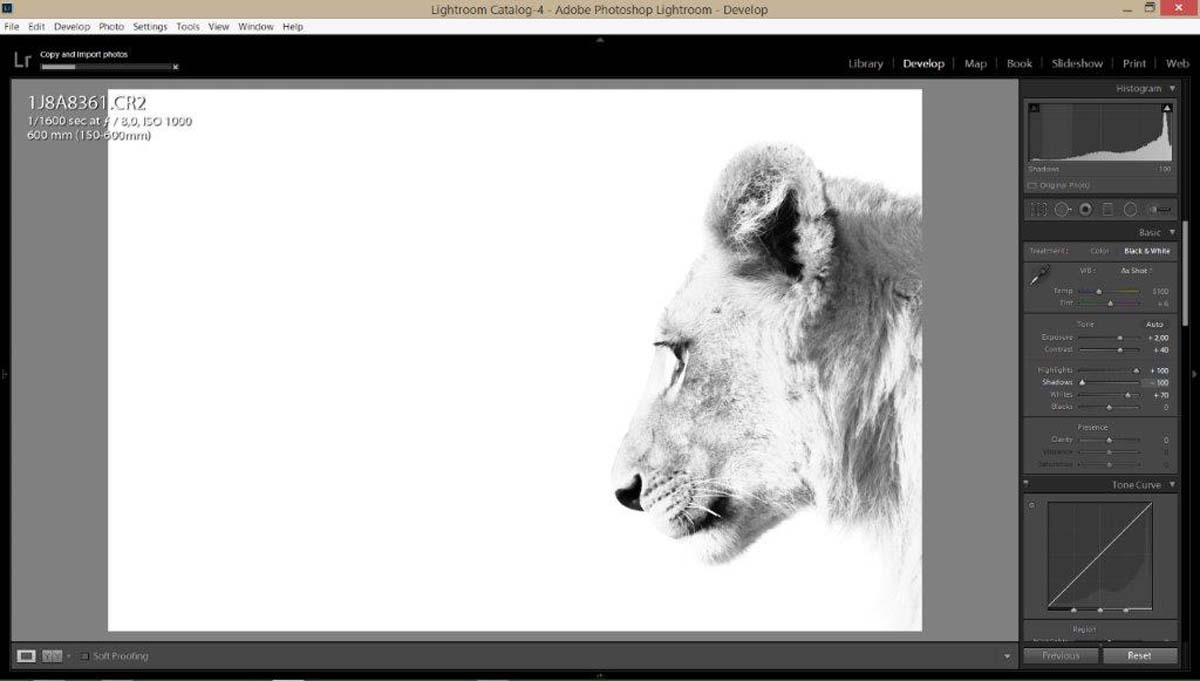
Drop the Shadow slider all the way down.
Step 8
Drop the black slider to your preference – be careful as this can cause you to lose detail if dropped too much. Here I could get away with dropping it all the way as the image was already very detailed.
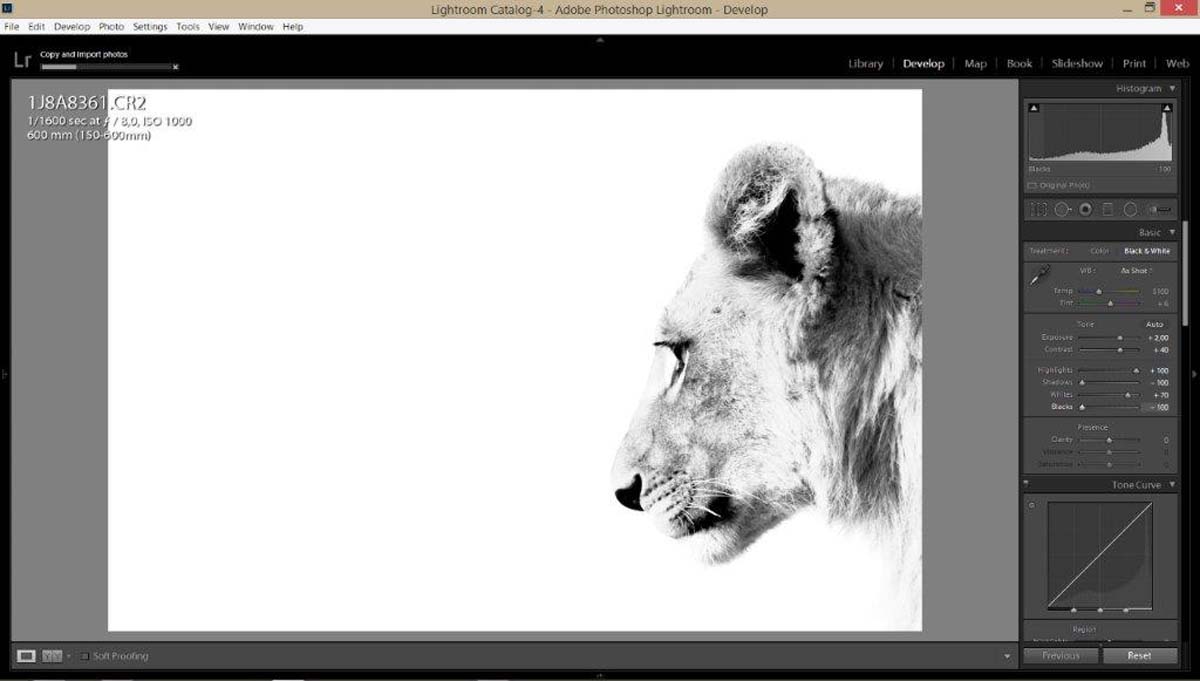
Step 9
Increase the clarity slider to taste.
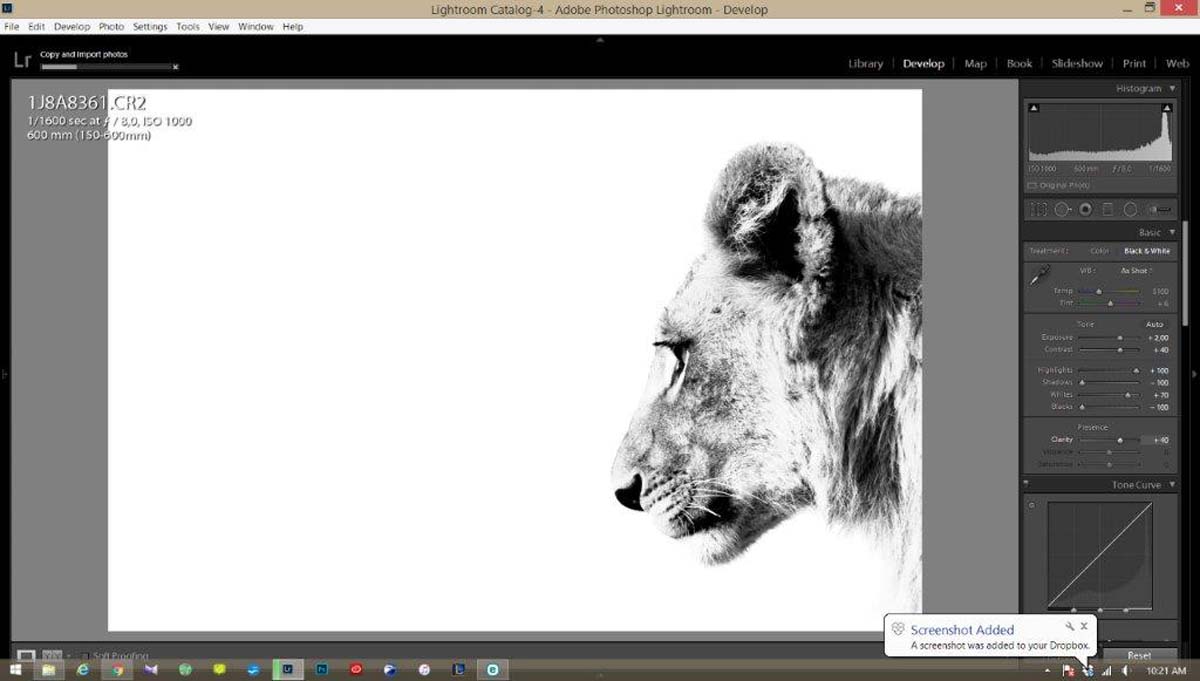
Step 10
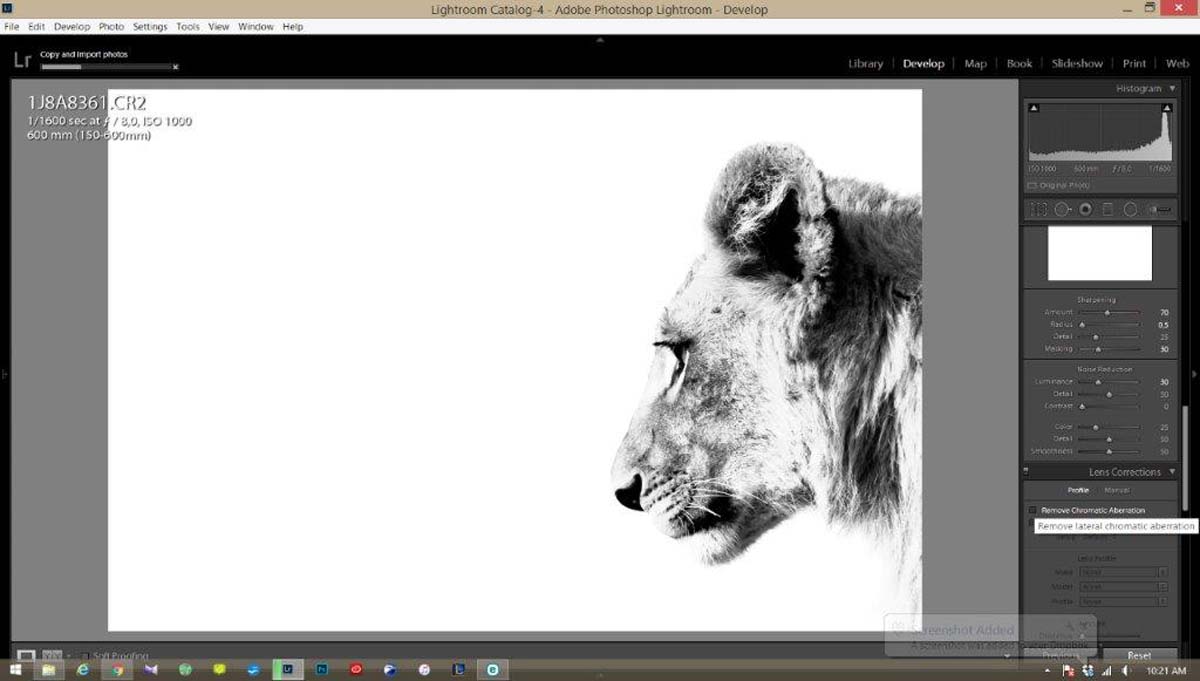
Increase sharpness to about 70.
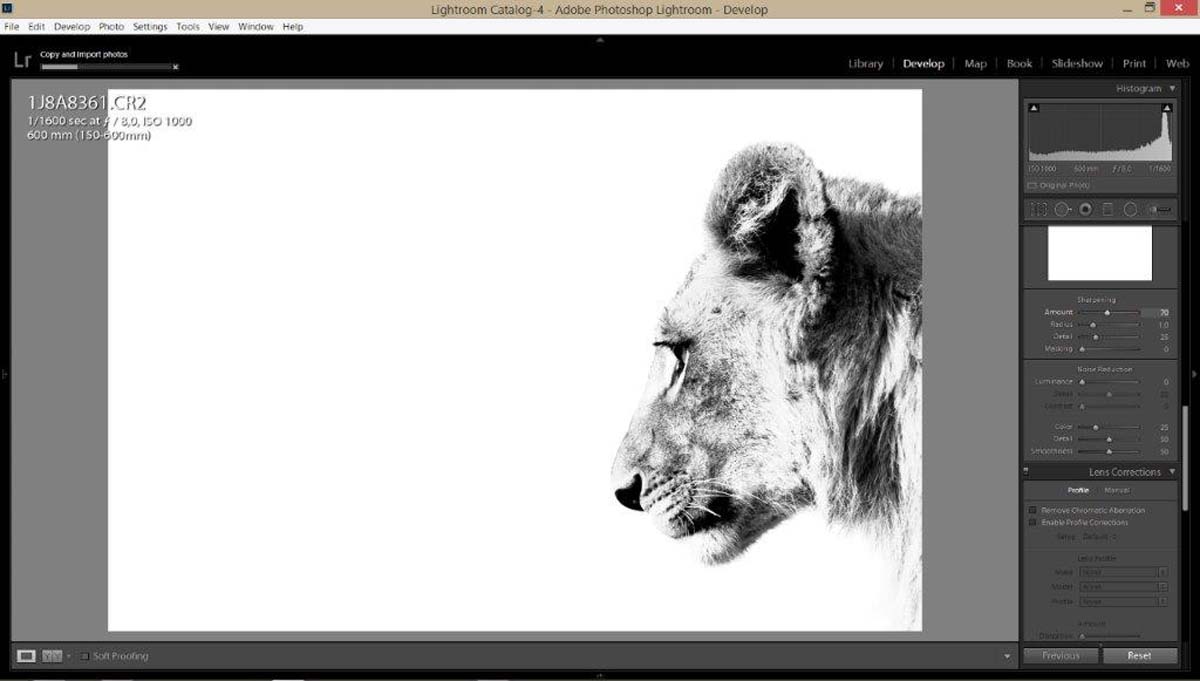
Step 11
Drop the radius slider to 0 as this will bring out the finer details such as individual hairs.
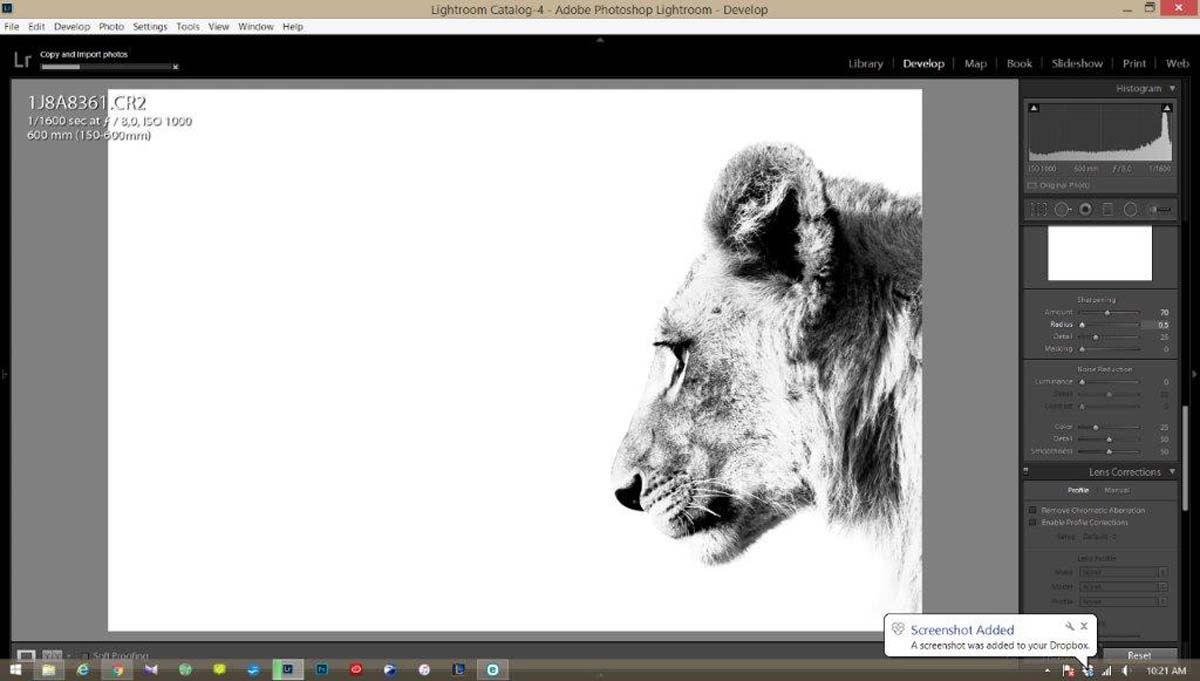
Step 12
Increase masking to 30. This will further increase the detail in which the fine hairs etc. are viewed. It will also soften the background while keeping the fine detail.

Step 13
Increase luminance to 30. This will separate the colours slightly and make them stand out more, essentially making it POP!

Step 14
Remove any chromatic aberration that might be present. This is a glow that surrounds any edges that are in stark contrast or have a lot of backlight; it will remove this glow.
Step 15
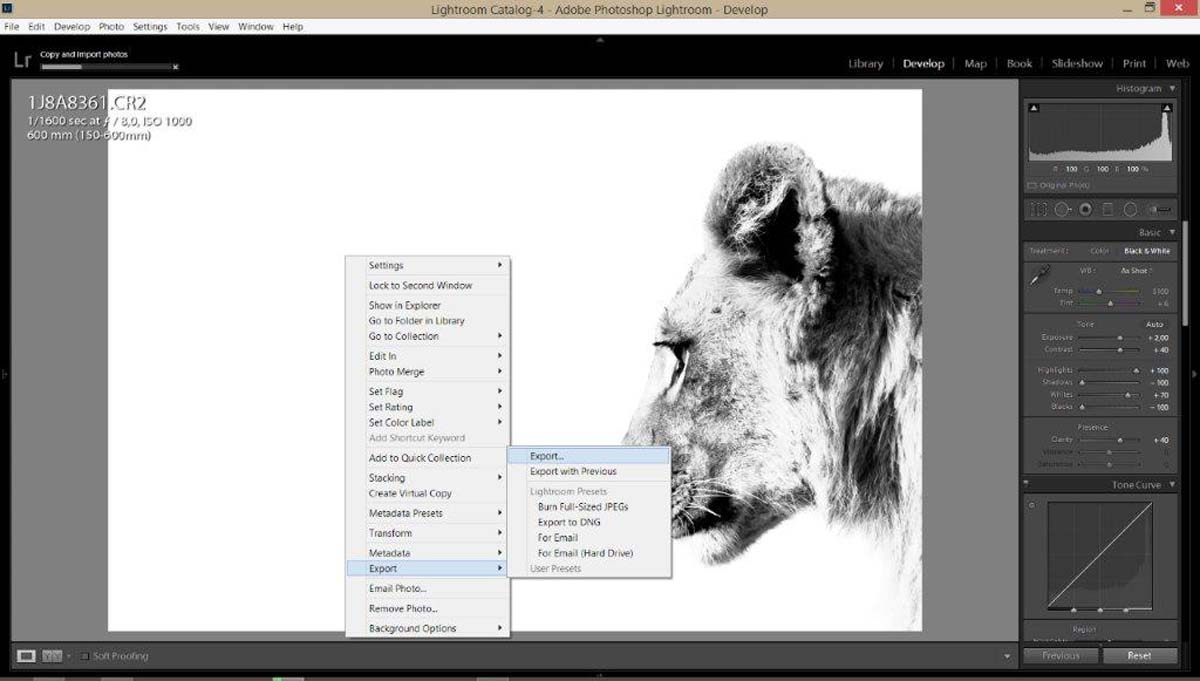
Export your image to the size and quality you want and enjoy!
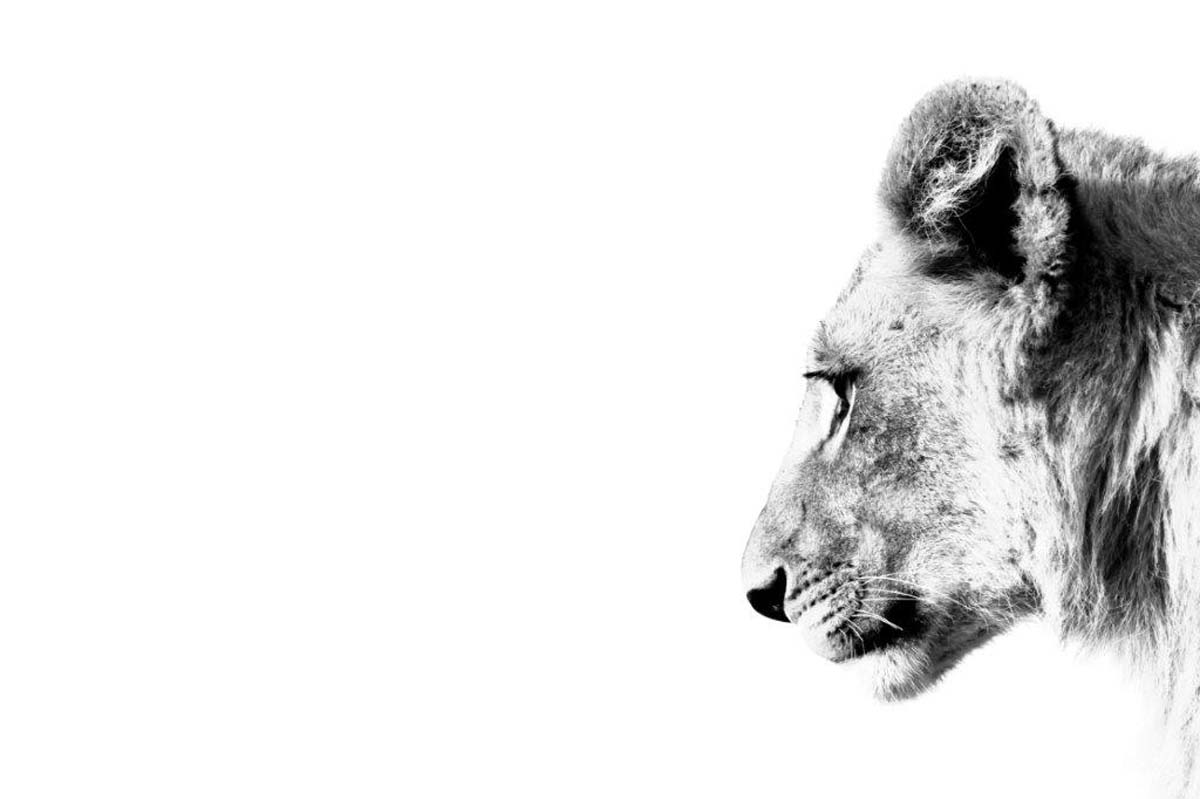
Final image
Don't just look through the view finder, look around...


