Danny’s Wildlife Photography Tips and Tricks Volume 1
on Oct 04, 2022Your Sabi Sabi trip is booked, passports checked and ready, bags at the door, and the last commodity to be packed is your camera gear. It is everyone’s who owns a camera's dream to take that one shot, the National Geographic cover shot! Regardless of what camera you have, if it is a top-of-the-range mirrorless camera or a second-hand point-and-shoot, this dream is possible for anyone!
Alright, let’s get into shooting! You are out on our first game drive, you have your camera ready and charged, your SD card empty and ready to be filled up with amazing pictures, but where do you start? There are a thousand buttons and settings on the camera, ISO, Shutter speed, Aperture, and other big words that you don’t understand. You would think with today’s technology you can take a photo by just blinking! But do not fear, I will help you step by step through this process!
First, let’s look at the normal settings and modes your camera has to offer. This is just a guideline to follow, and the fun thing about photography is that there are no rules!
Shutter Speed
The shutter speed is the amount of time your camera allows light to hit the sensor to expose the image.
A nice way to remember this is to imagine a room (this will be the camera), a window (the sensor) and curtains (the shutter speed). The longer you leave the curtains open the more the room will be filled with light. If you open and close the curtains quickly, there will be less light in the room.
So, to put it in camera terms, the faster the shutter speed, the less light hits your camera sensor, risking the image being underexposed. If you want to freeze a moving object, a higher shutter speed should be used.
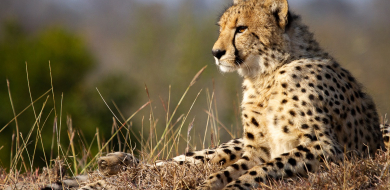
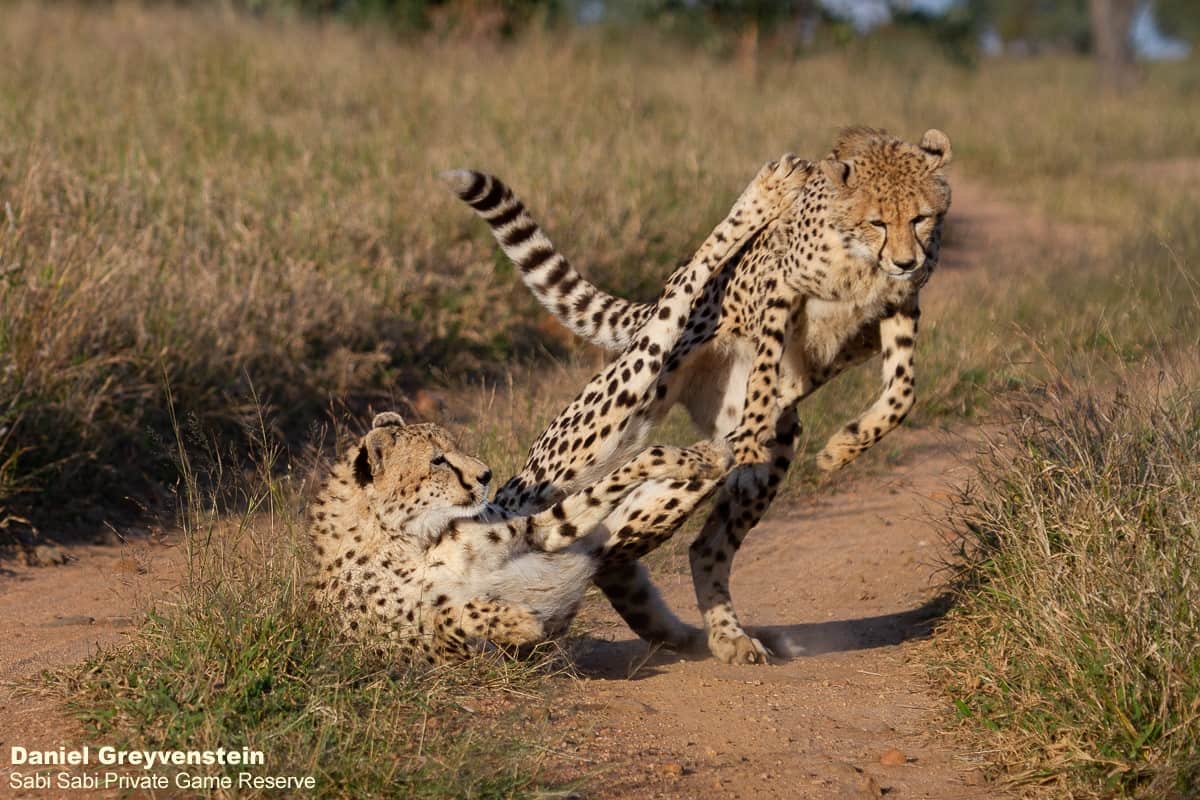
For example, we are at a cheetah sighting with a cub. The cub is playful, and you want to capture how the cub pounces on the mom. To achieve this without any motion blur, set your shutter speed at a higher value.
Aperture
This is the size of the opening in your lens and how much light it can gather. This creates a depth of field in your image, or in other words, how blurry the background/foreground of your image is.
This value is written in f-stops. A low f-stop of around f/2 or f/2.8 means that your lens is fairly wide open, capturing a lot of light, and the background/foreground of your image will be blurry. The higher the numbers (f/4, f/5.6, f/8, f/11, and so on) means you are closing the blades, less light is being captured, and your background/foreground is more in focus.
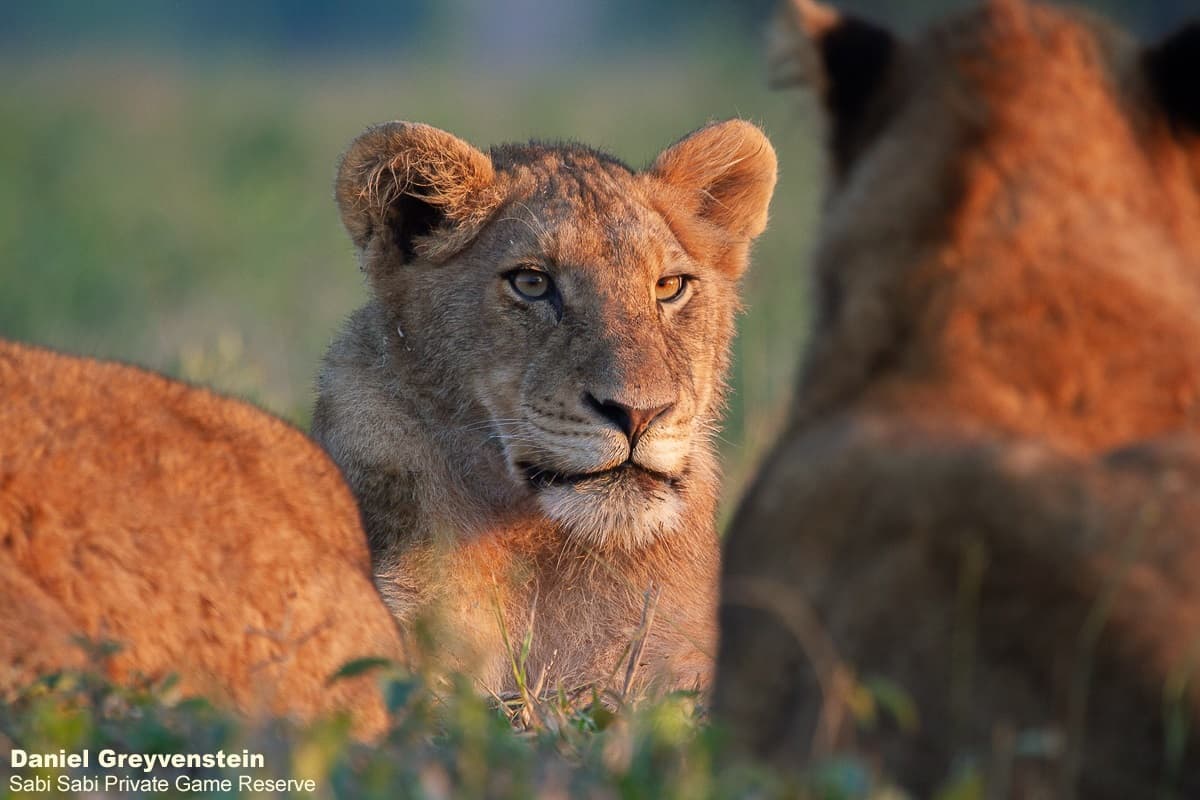
For example, we are in a sighting with the Styx Pride. One cub in a pile of cubs lifts up his head. You want only that cub in focus, the rest must be blurry. Open up your aperture, meaning have a small value f/stop.
ISO
ISO is the sensitivity of the camera’s sensor, controlling how bright or dark the photo will be.
It is similar to changing the brightness of the photo in post-processing software. But be aware, a higher ISO means your photo will be noisy and grainy. If you want clear and noise-free wildlife shots, try to keep the ISO between 100 – 800 ISO in normal lighting. When it gets darker, your ISO value needs to be higher to be able to brighten your photo.
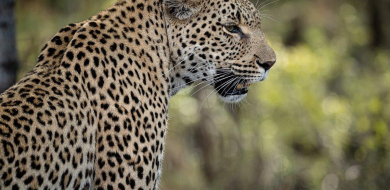
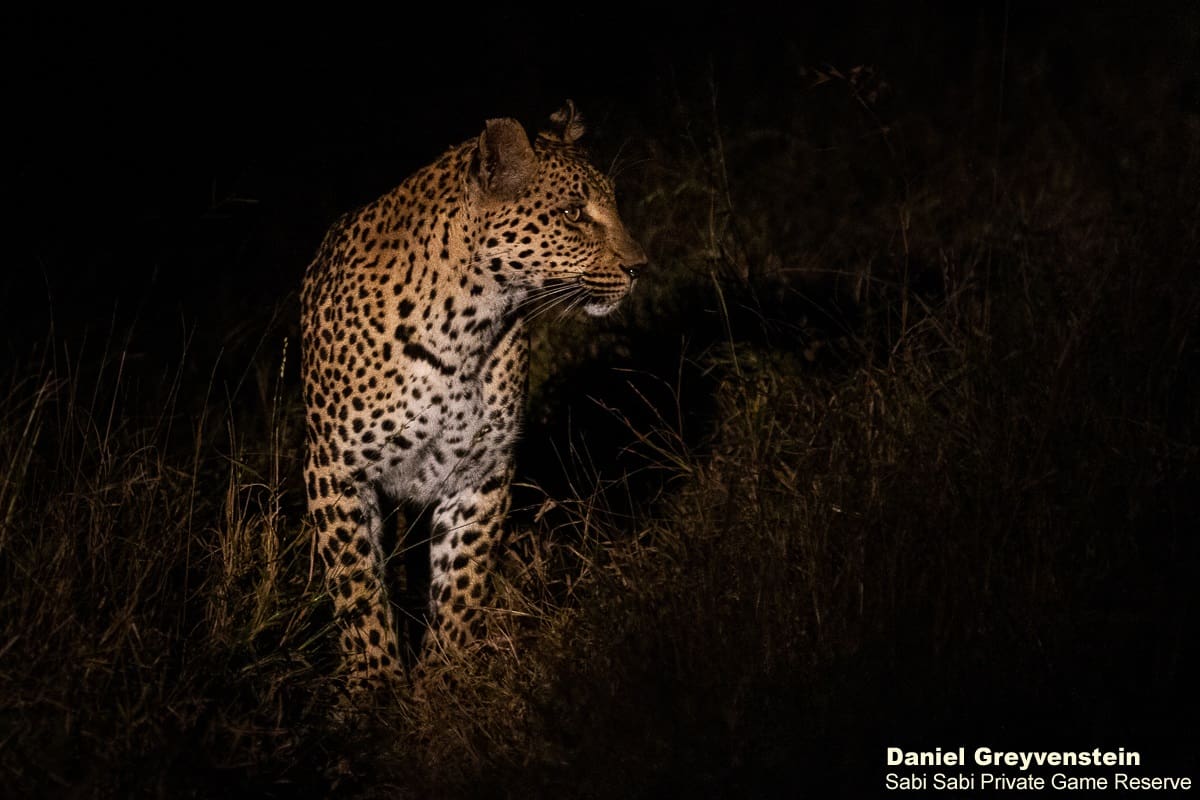
For example, it is completely dark, and you have an amazing leopard sighting with the famous Ntsumi female. You don’t want this amazing opportunity to go to waste. Push up your ISO, it is about 3200 – 6400. With the help of external light, like a spotlight, you will be able to capture a decent image in the dark.
Now it is time to combine these three settings. It takes time and practice to change your settings while in a sighting, but patience is key, you will get there!
Capturing images during the day when it is bright out, you have to have more flexibility with the settings. You can play around with your shutter speed to control motion blur, change the aperture to get a certain depth of field and shoot at a lower ISO.
When you enter the night drive part of your safari, this is where it can get a bit tricky. The shutter speed must be longer, the aperture wider and the ISO higher, but you can play around and find the best settings that create the photo you want.
Do not fear to not getting this right the first time, because most entry-level cameras have a few modes you can choose to shoot in. This is automatic mode, shutter speed priority, aperture priority, or manual mode.
Automatic mode
This is the easiest mode you can shoot in. The camera automatically chooses all the settings needed to expose the image perfectly. But this gives you no creative freedom to play around with settings. For wildlife photography where the situation can change really quickly, I won’t recommend using this mode.
Shutter Speed Priority mode
You might think Shutter Speed Priority is the best mode for wildlife photography, because like I said, a situation can change very quickly, and you need to be prepared. But with this mode, the camera will change your aperture value in bright light giving you the wrong depth of field. In dark conditions, your camera will push up your ISO too high if you don’t change your shutter speed constantly. This will result in your images being too grainy.
It is not the worst mode to use, and many photographers use this mode, but just remember to keep an eye on your aperture and ISO values. (Canon: TV; Nikon: S).
Aperture Priority
This is the easiest shooting mode for wildlife photography. This mode allows you to set the aperture value you want, and how much of the background/foreground you want to be blurred, and the camera adjusts the shutter speed automatically. The camera takes in where the focus is pointed and adjusts the shutter according to how much light is in that spot. You can change the ISO according to the light conditions, letting the camera increase the shutter speed as a result.
For wildlife photography, an aperture of f/5.6 (or the widest aperture of your lens) and ISO of about 800 will work great! As it gets darker, increase the ISO to maintain a fast shutter speed. (Canon: AV; Nikon: A).
Manual Mode
This is a trickier mode to use. It gives you so much control and creative use over your settings. To simplify the craziness, you can use auto ISO. Don’t be fooled by the word auto. The camera will change the ISO depending on the light changes in the environment. It is recommended not to manually control all three settings when in manual mode. When things change quickly, and you have to change all your settings at once, this can cost you to miss the perfect shot because you are not ready.
But if you have time to sit with a subject, this is a great opportunity to play around with all three settings. Once again practice makes perfect, and patience is key!
That’s it for the first volume of Danny’s Wildlife Photography Tips and Tricks. Stay tuned to learn more about focusing points, composition, editing and so much more!
Danny's Wildlife Photography Tips and Tricks Series:
Vol. 2: Manual and Auto Focus
Vol. 3: Compositions and Techniques
