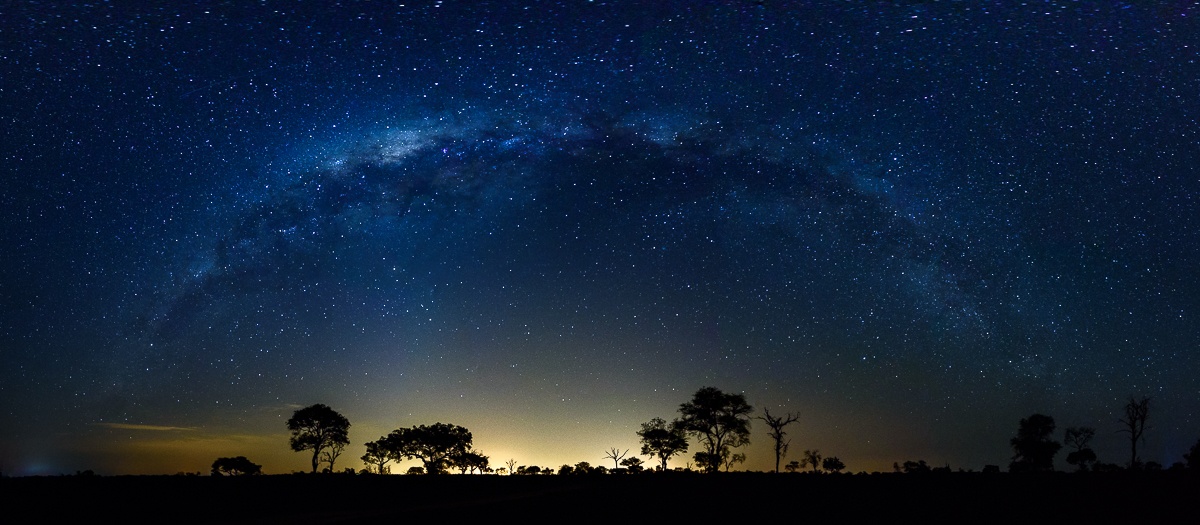
A Starry Night
on Oct 23, 2023After all the excitement of the day, when nighttime comes, the African night sky has so many stories to tell. As photographers, we are always searching for ways to capture these stories in a photo as a memory of this wonderful time.
Star photography can be one of the easiest and at the same time the most difficult types of photography that you can try. It requires a lot of planning and patience, but when done right, the results will amaze you!
I have put together some tips and tricks to help you achieve the best star photography photos.
There are two different types of Star photography. The first is Milky Way Photography, and the second is Star Trail Photography. Both have a lot of similarities, just a few setting changes.
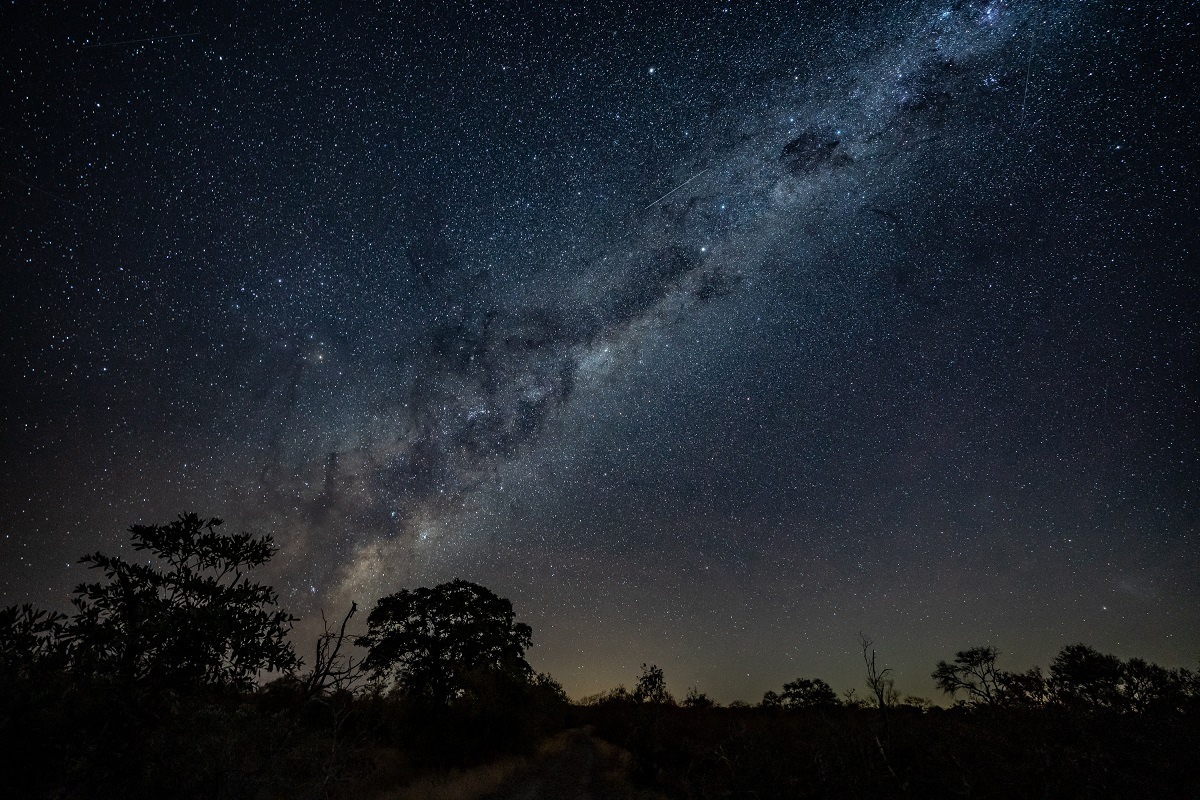
The difference between the two types is that a Milky Way photo is almost like your eye sees it. The stars are set in one spot. When doing Star Trails, you are intentionally capturing the movement of the stars. This is due to the Earth’s rotation and the stars are no longer just sharp spots, but lines stretched across the sky.
For this blog, we will be looking into capturing the Milky Way.
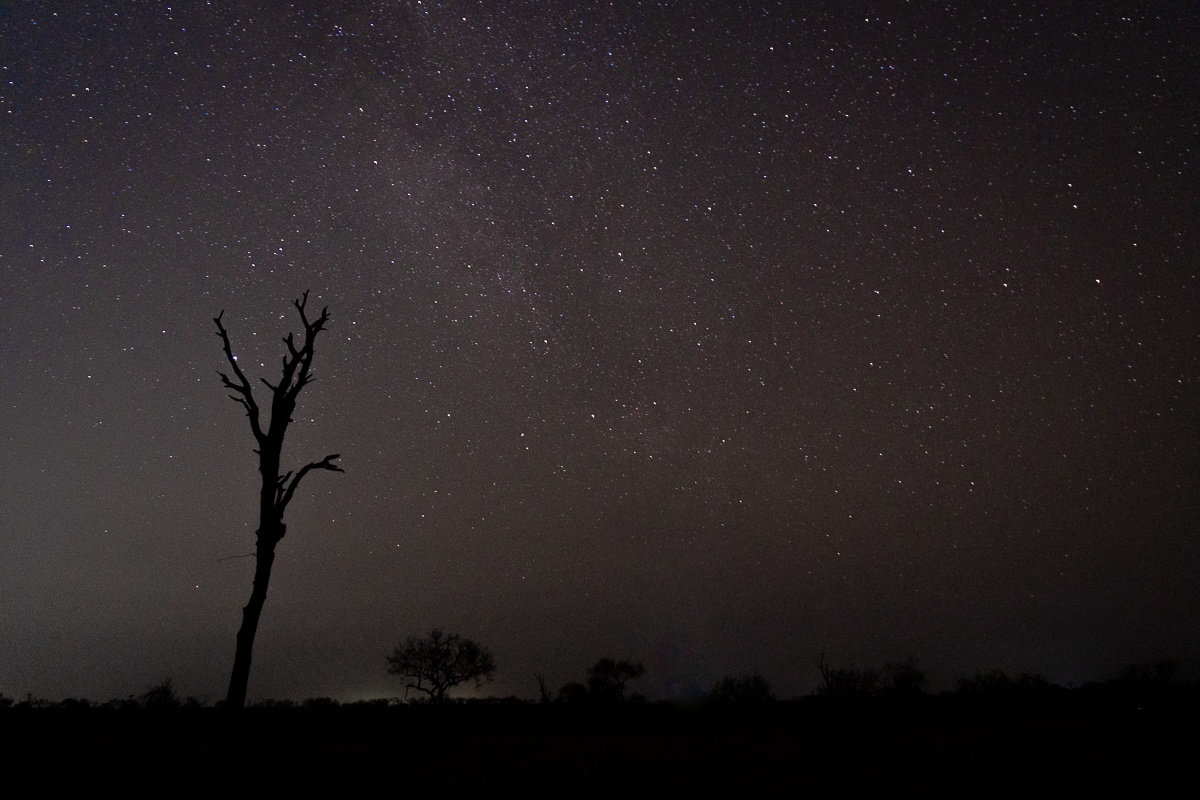
Equipment needed:
- A camera with good ISO performance.
- A good, sturdy tripod.
- Lens with an aperture of at least f/2.8. Using an open aperture means that more light reaches the sensor and, ultimately, it allows you to see a lot more details in the sky.
- A remote shutter. This is not always essential for Star photography but makes it easier and reduces camera shake when you are using Bulb mode if you are using a shutter speed of more than 30 seconds. With today’s technology, some cameras can connect to an app that can act as a remote shutter.
- A head lamp to help you move around and to have your hands free to handle your equipment. Choose a headlamp with a red LED function which will help you operate your camera in the dark while maintaining your night vision.
Camera settings:
- For the best results, switch your camera to Manual mode. This will help you to change your Aperture, Shutter speed and ISO independently from one another, achieving the results you want.
- Because it is so dark, Autofocus sometimes struggles to find a focus point, so it is best to switch your camera to Manual focus.
- Shoot your photo in RAW format. This gives you much more freedom and information for post-processing.
- An Aperture of about f/1.4 to f/2.8. Try not to go higher than f/4.
- ISO between 1600-3200. A dark night can require an ISO of up to 6400.
- Shutter speed of about 15-25 seconds
Focusing on the stars:
Getting a sharp photo of the stars is one of the most difficult things. Here are a few steps that you can follow to get a sharper image.
- When switched to Manual focus, rotate your focus ring to infinity. On some lenses this is indicated by the infinity symbol, but on other the exact spot may change from lens to lens.
- Take a few test shots to make sure your stars are in focus.
- To make it easier, mark this spot with a marker or a piece of tape to make sure you have a sharp image every time.
The Moon Phase:
There is some planning that goes into Star photography. One of the most important things to look at is the Moon Phase. The best is to have a New Moon, or a small crescent. This helps so there is little to no light pollution in your photo and will also help the stars to shine brighter.
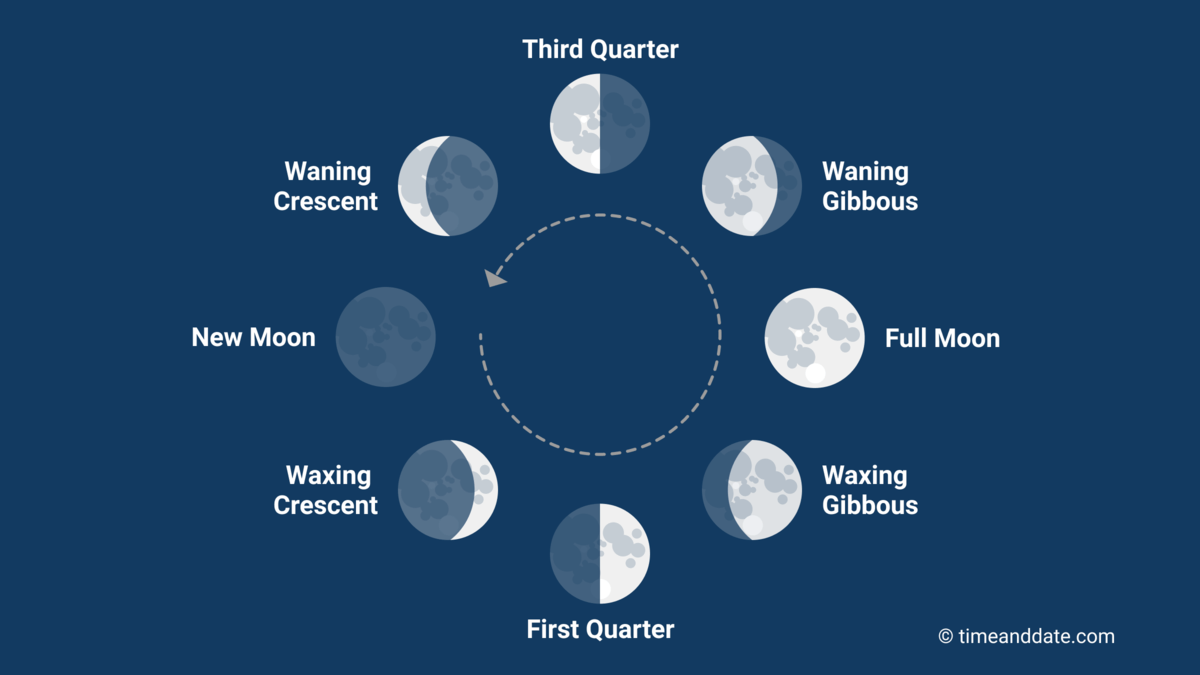
Source: https://bit.ly/3s3Tsre
Choose a good location:
Just like in any other photography, composition also plays a very big role in Star Photography. Picking the right location where you will have the least light pollution and some interesting compositional elements will help to elevate your photo much more.
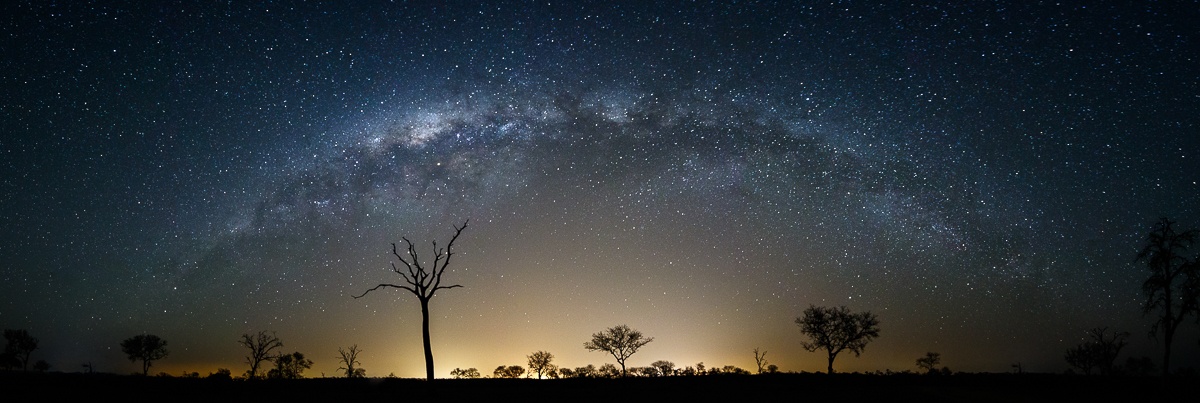
Now that you understand all the fundamentals of Star Photography, it is time to start shooting! Be sure to pack a picnic basket with some coffee and snacks, as this can become a very long night, and remember to bring warm clothing or a blanket to keep yourself warm!
While you wait for your camera to process the photo, looking up at the night sky there are a few constellations that you can see. You can use different applications to search for and identify quite a lot in the night sky. Here is just a few to look out for while you are out there.
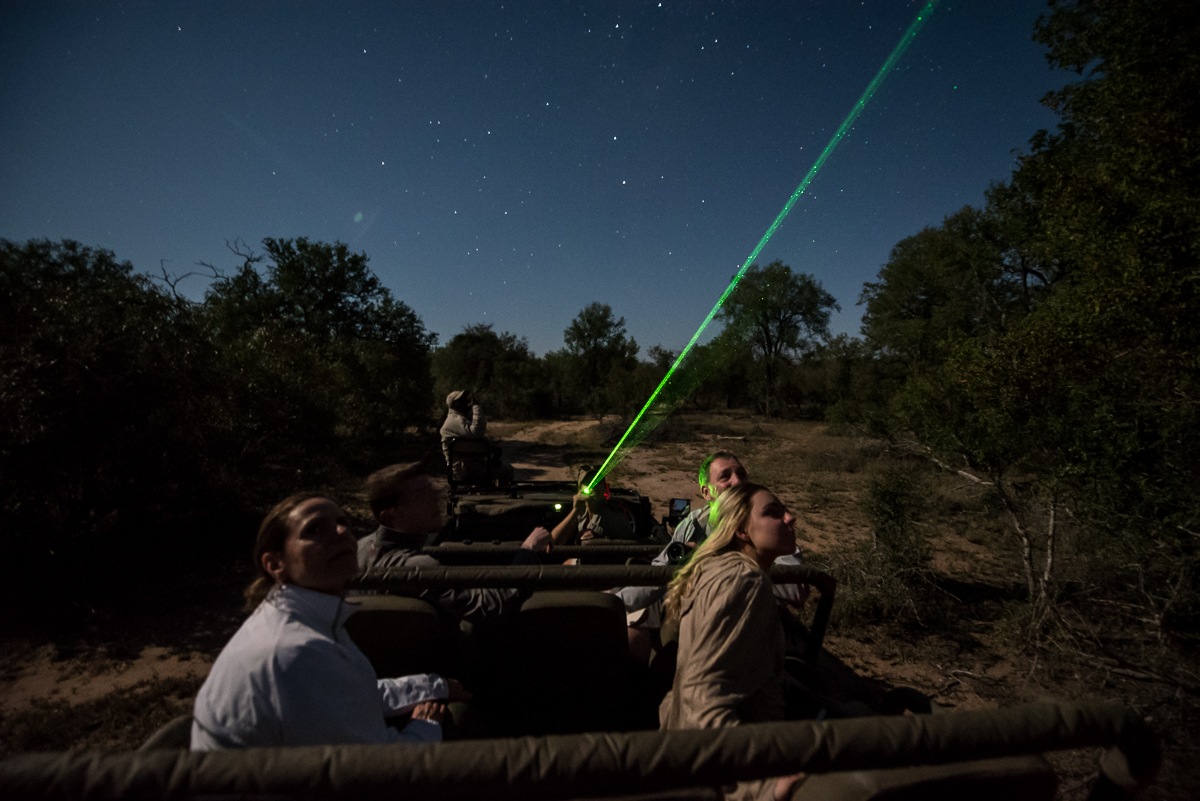
The Southern Cross
The most familiar constellation in the Southern Hemisphere that you can see year-round is known as the Southern Cross. Composed of four stars that form a diamond pattern, it almost looks like a cross turned on its side.
Stars of the Southern Cross are Alpha Crucis (Acrux), Beta Crucis (Mimosa), Gamma Crucis (Gacrux) and Delta Crucis (Imai). Together with the two pointers Alpha Centauri and Beta Centauri you would be able to find South.
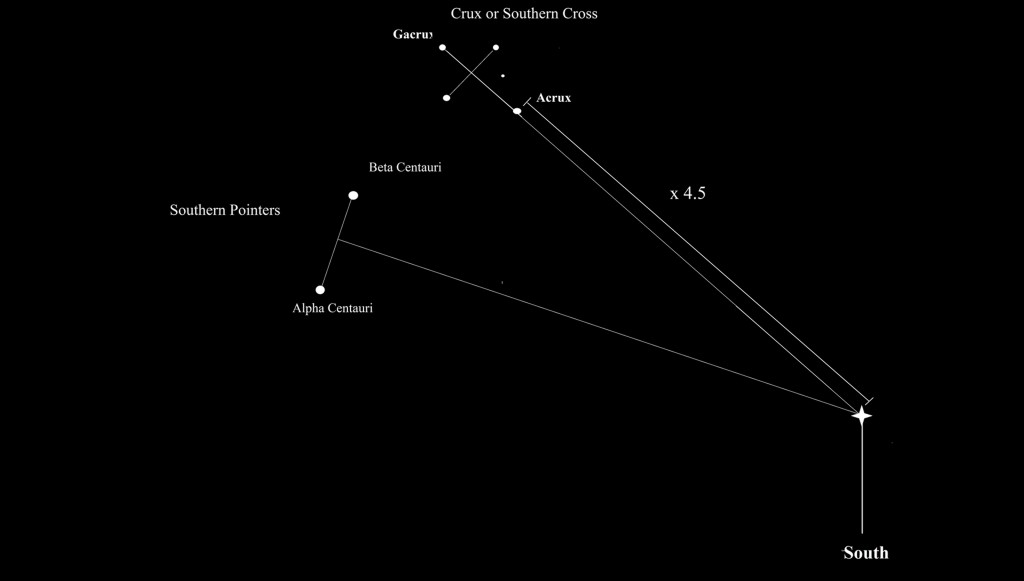
Source: https://bit.ly/3SbtsVI
Orion – The Hunter
The easiest constellation to identify in the night sky is Orion, and this is thanks to the three stars that make out his belt. These three stars are known as Mintaka, Alnilam and Alnitak, and they are situated at the Celestial equator of the sky. From the belt, you can also see the sword hanging from it. This is indicated by three stars higher in the sky than the Belt. The Central faint “star” of the Sword is known as the “Great Nebula of Orion”, but this is in fact a small gas cloud that can be seen by the naked eye.
Betelgeuse makes up the shoulder of Orion and when translated this means “the armpit of the giant” Sitting at the 12th brightest star in the sky, it is also classified as a Red giant. An interesting fact about this Red Giant is that it is noticeably warmer in colour but colder than our Sun despite being four times larger.
Orion means “Winter is coming” and you can see this constellation from November to May in the Southern Hemisphere.
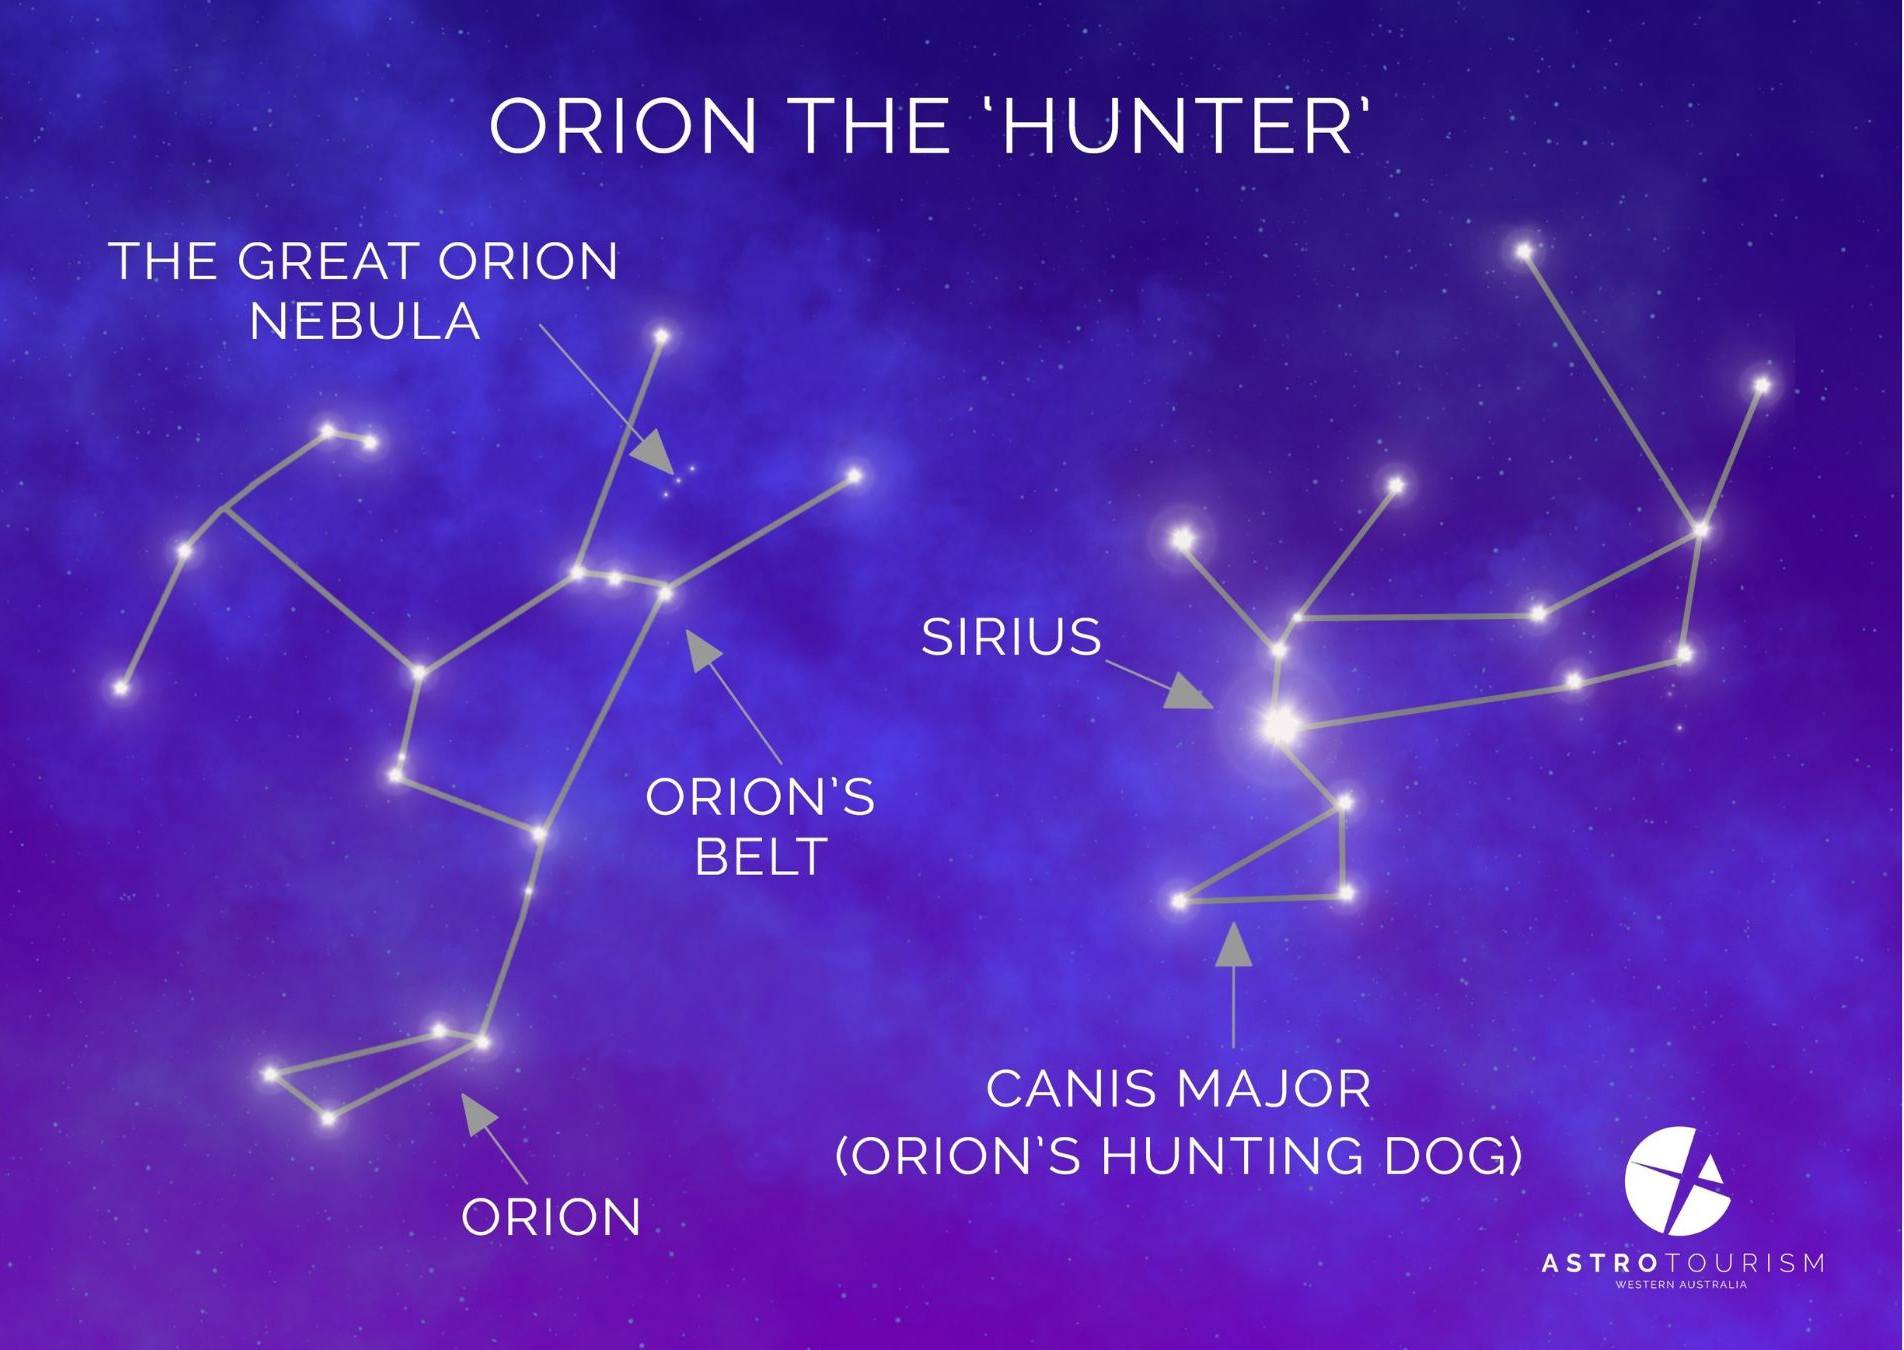
Source: https://bit.ly/3FtgyKT
The Scorpion
Scorpius is one of the largest constellations and is also one of the few that looks like the name it bears. To find Scorpius look at the Southern Cross when it is near or past the twelve o’clock position in the sky, and this will place you at the tail of the Scorpion trailing into the Milky Way.
The most prominent star that you will find in this constellation is called Antares, and it is the 15th brightest star in the night sky. It represents the body of the Scorpion and is also known as a Supergiant Red Star.
Three stars make up the pincers of the Scorpion. These are Jabbah, Graffias and Omega 1.
The Scorpion is visible from May to November in the Southern Hemisphere.
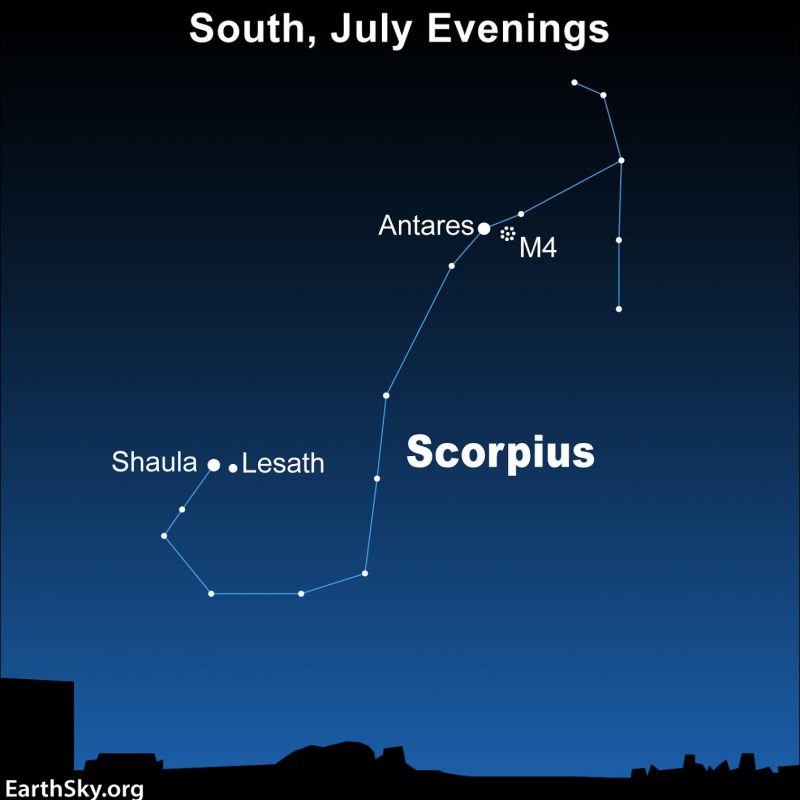
Source: https://bit.ly/498tgMX
I hope this blog helps you to capture the essence of the beautiful African Night Sky.
Happy Shooting!
Blog by Daniel Greyvenstein (Bush Lodge Ranger)
